How to Grill a Perfect Steak, Every Time

Cooking a steak just right can be an intimidating task to the novice cook, but what I am about to share with you will demystify the process of this core cooking skill. I'm going to show you how to nail that degree of doneness like it’s no big deal with this instructional cooking video and guide.
In restaurant kitchens, nailing that degree of doneness is THE most critical skill, because steak (and animal protein of any kind) is expensive, and in restaurants, food cost is everything. When a customer orders their steak medium-rare, you better know how to get it right, or else! Any fan of Chef Gordon Ramsay knows what I’m talking about.
As home cooks, we’re not under quite so much pressure, but when we’re paying top dollar for pasture-raised, grass-fed beef, we want to get it right, too. So, in this blog post and YouTube video, I’m going to teach you how to cook that steak, just right, every time.
Full disclosure: Some of the links in this post may be affiliate links. As an Amazon Associate, I earn from qualifying purchases. Purchasing a product using one of these links will support my work at no additional cost to you. Please know that I only recommend products I wholeheartedly stand by.

Grass-Fed vs Grain-Finished Beef
First, let’s talk for just a minute about grass-fed beef, and what that means. This is important for anyone who is eating to heal, minimize inflammation, and optimize health and vitality. Grass-finished beef is where it’s at.
All cows eat grass, but when they reach the stage of being ready for slaughter, most cows are sent to feedlots, where they are fattened up on a diet of grains, primarily corn and soy. This isn’t in the cows’ natural diet and while it makes for nicely-marbled steaks, it also results in a nutritionally inferior product. It’s good for the people selling the beef, but not ideal for the cows, or the consumers.
“Grass-fed” or, more accurately, grass-finished beef, on the other hand, never goes to a feedlot. Instead, the cows graze up until the time of slaughter and are not grain-finished. The result is leaner, more flavorful, and more nutritious beef. That’s why so much emphasis is placed on that “grass-fed” label for those of us who are eating to reduce the symptoms of chronic thyroid or autoimmune conditions.
Further Reading: Beef: Is it Thyroid-healthy?
Grass-finished beef has a far different and superior nutrient profile than industrially-raised, grain-finished beef and is highly beneficial to thyroid health. According to holistic nutritionist, Adrienne Klein, it contains up to five times more Omega-3s than conventionally raised beef, which can help reduce inflammation in the body, as well as boost immunity. It also can have more than twice the amount of Vitamin E (a powerful antioxidant), and twice as much CLA as grain-finished beef (a fatty acid associated with reducing body fat).
While red meat is often touted as being unhealthy, Adrienne emphasizes that grass-fed beef is highly beneficial for thyroid health. You needn’t consume large amounts to get all the healthy benefits. She recommends adding grass-fed beef to your diet just once or twice weekly as a worthwhile investment in your thyroid-healthy diet.
Tips for Cooking Grass-Fed vs. Grain-Finished Beef
From a cooking standpoint, grass-fed beef steaks can take a little more finesse to cook perfectly. This is because grass-fed steaks are typically leaner than their grain-finished counterparts. Intramuscular fat or "marbling" in a steak slowly liquefies as it heats up, ensuring succulent juicy meat. Marbling is one of the primary reasons cows are finished with grain. With less overall fat, grass-fed steaks can be a little less forgiving, and easier to overcook.
PRO TIP: When in doubt, reduce your cooking temp during the last half of grilling or searing your steak to give yourself the best chance of nailing that perfect degree of doneness.
When grilling or pan-searing a steak, we want the heat to be high enough at first to sear and put a bit of that flavorful, caramelized "crust" on the meat, but as you approach your ideal degree of doneness, an easy trick to improve your odds of success is to lower the heat. The higher your heat, the faster steak cooks, and the narrower that window of ideal doneness becomes. When you lower the temp, you slow the cooking process and widen that window of perfection. In essence, you give yourself a bigger chance of nailing it.
How to Grill a Perfect Steak, Every Time
Okay, so let’s fire up the grill (or a heavy-bottomed skillet, like cast iron, if you don’t have a grill). Here’s the play-by-play for the perfect steak every time:
Remove steaks from the fridge and allow them to come to room temp for about 30 minutes before grilling. This ensures an evenly cooked and juicy steak that has released less moisture and spent less time on the heat.
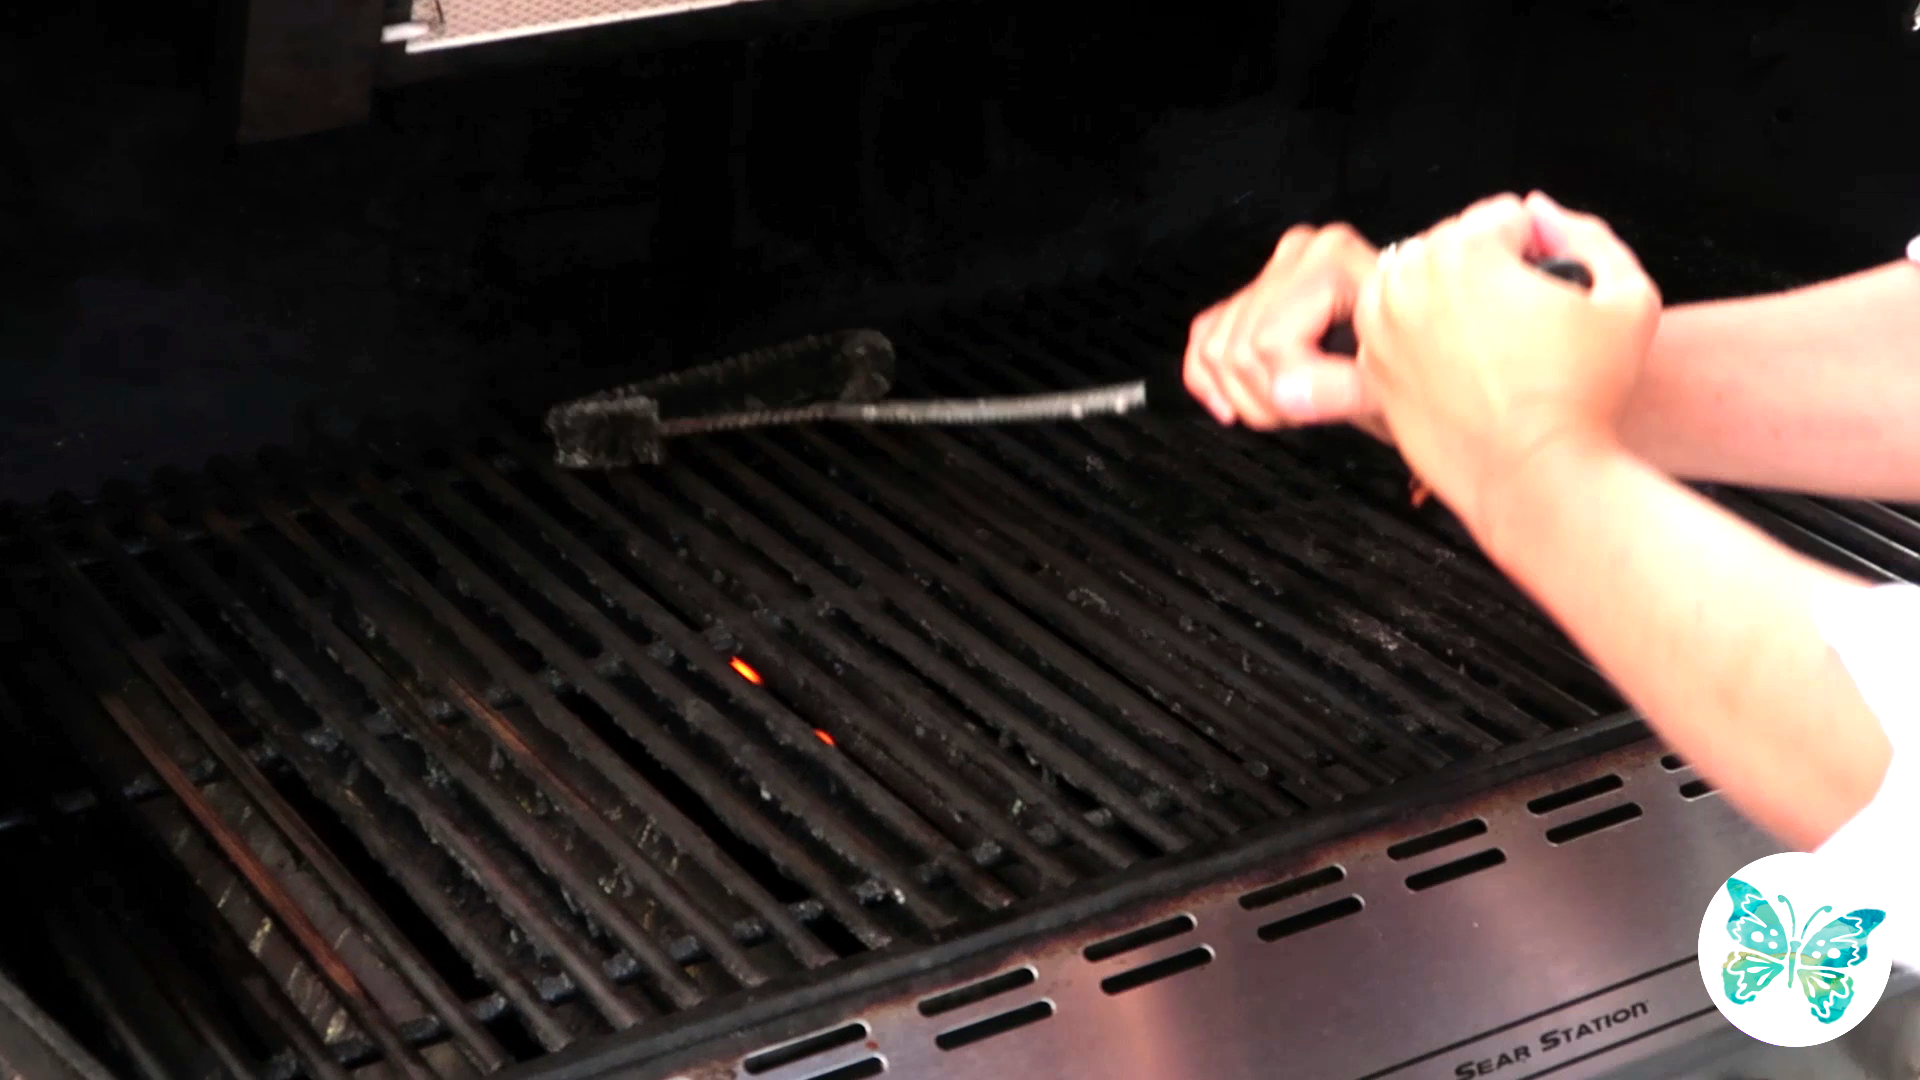
Preheat and clean the grill with a wire brush.
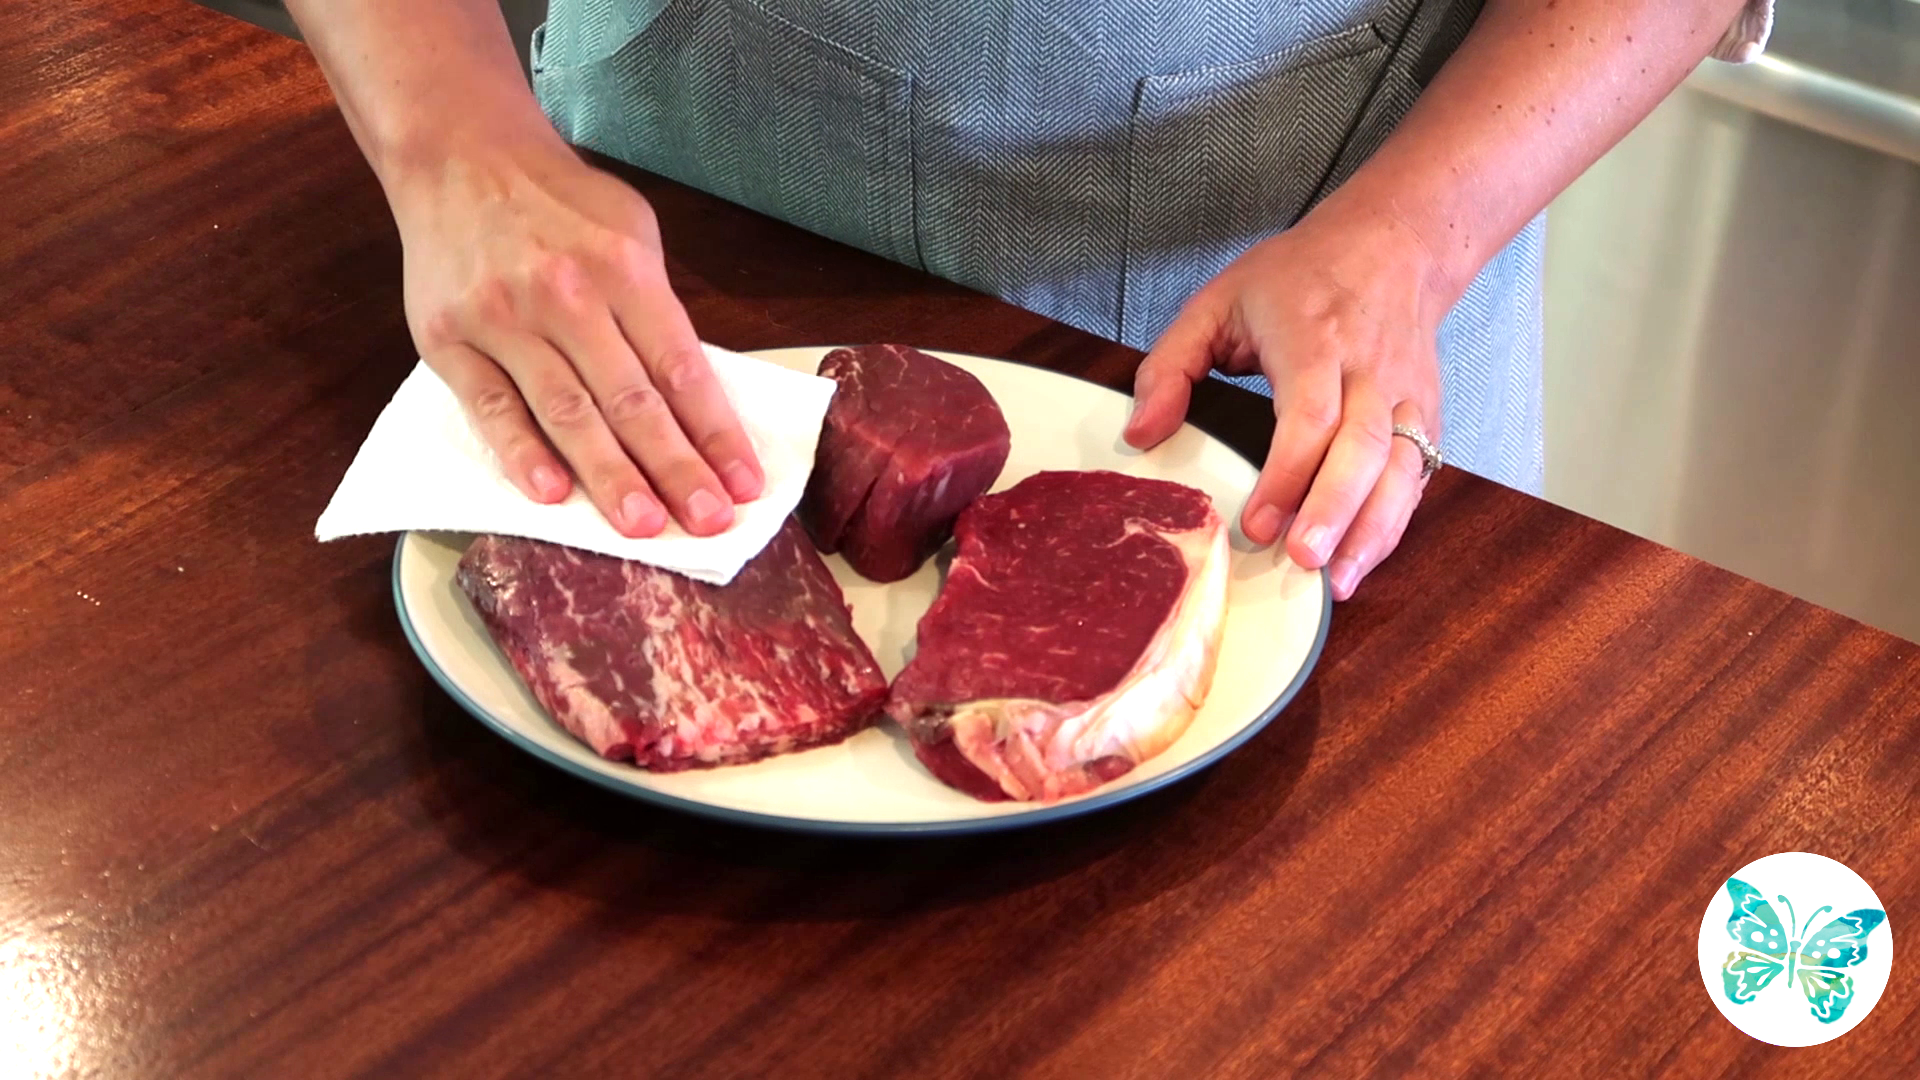
If necessary, remove excess moisture from the steak by patting it dry.
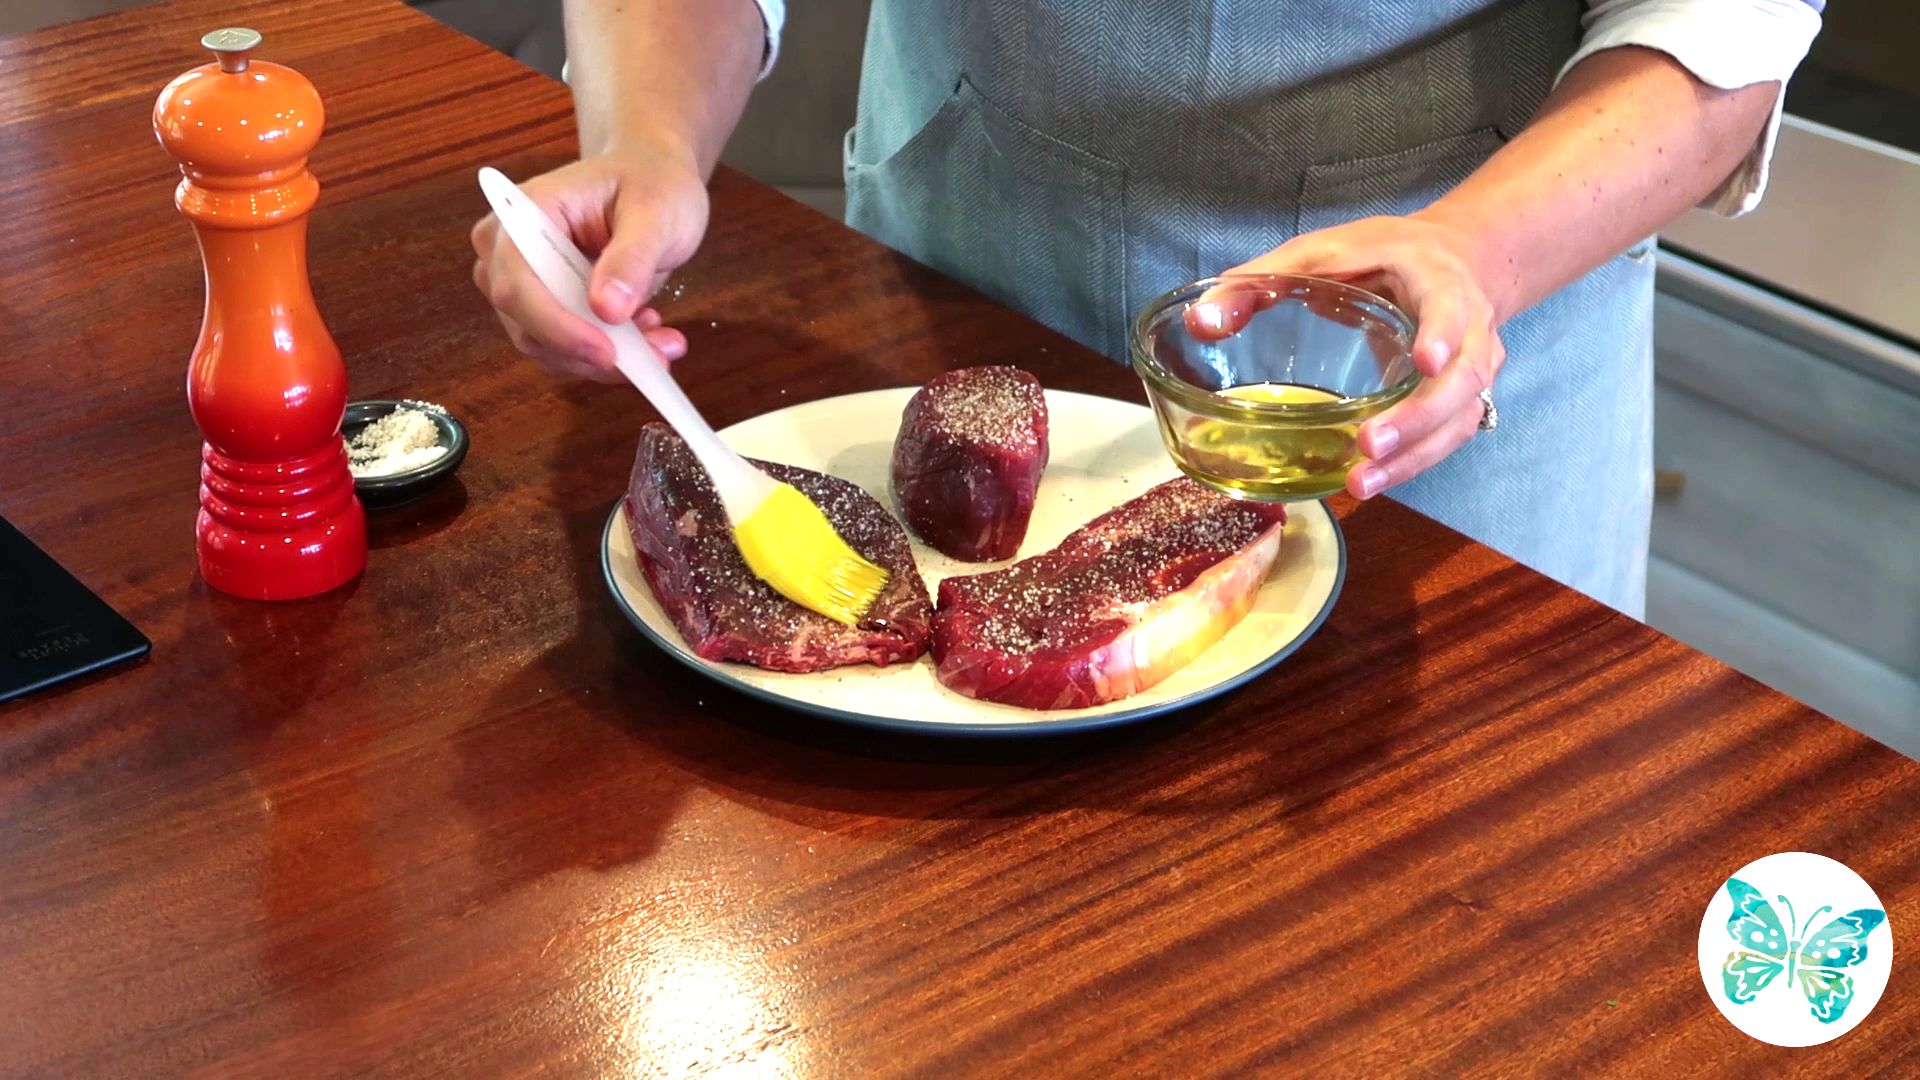
For leaner cuts, brush the steak with a light coating of melted ghee, tallow, or lard. Fattier steaks like ribeye don’t require this, but it won’t hurt.
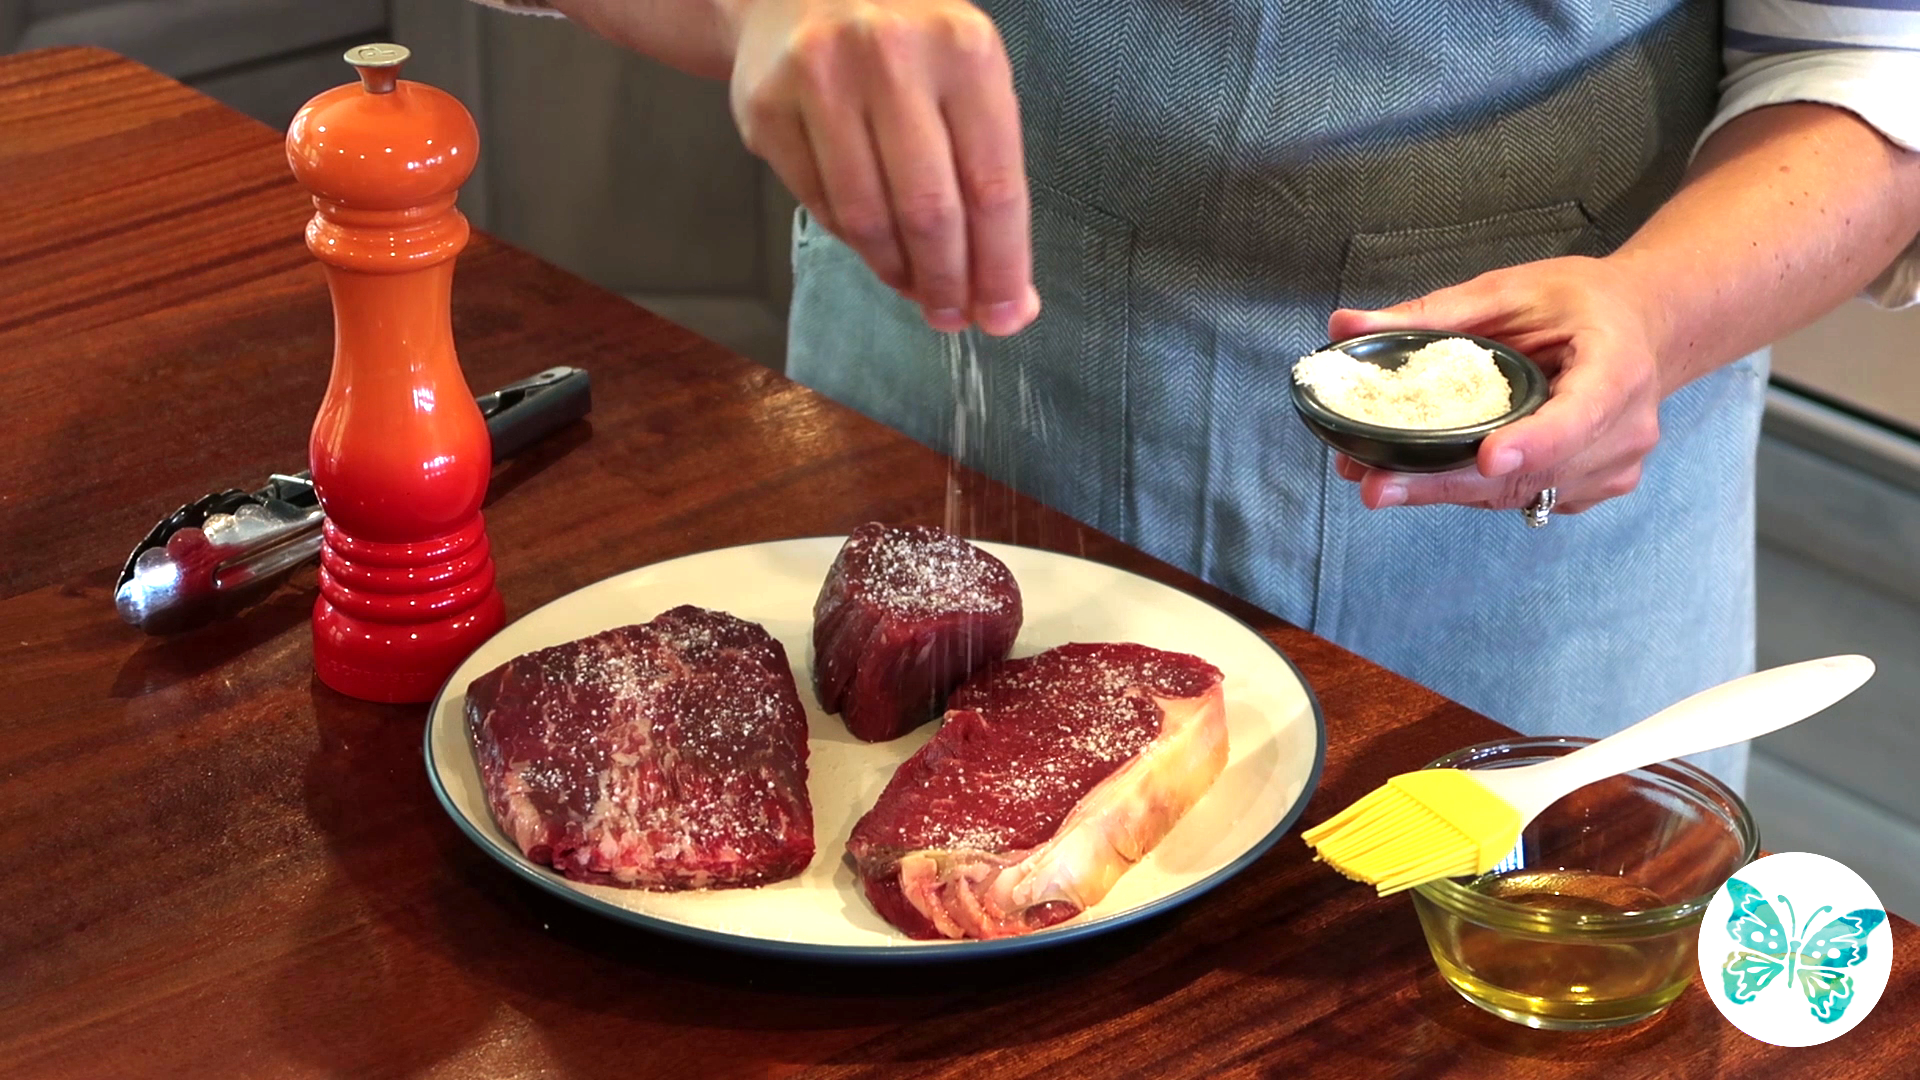
Season your steak as desired. Dinner guests always ask what we season our steak with and are surprised to hear that we use plain old salt and pepper. We love to experiment with different salts, and our favorite for steak is Hawaiian Alaea Sea Salt, which has a coral tint and slight earthiness from just a touch of volcanic residue. But Fine Ground Celtic Sea Salt also works great.
Seasoning Rules of Thumb:
- Season according to thickness. A 1-inch thick T-bone can handle more salt than a thin piece of flat-iron steak.
- If you’re unsure of how much salt to use, a rule of thumb is to use a scant 3/4 teaspoon per pound of meat. Add a touch of freshly cracked pepper, and you’re good to go.
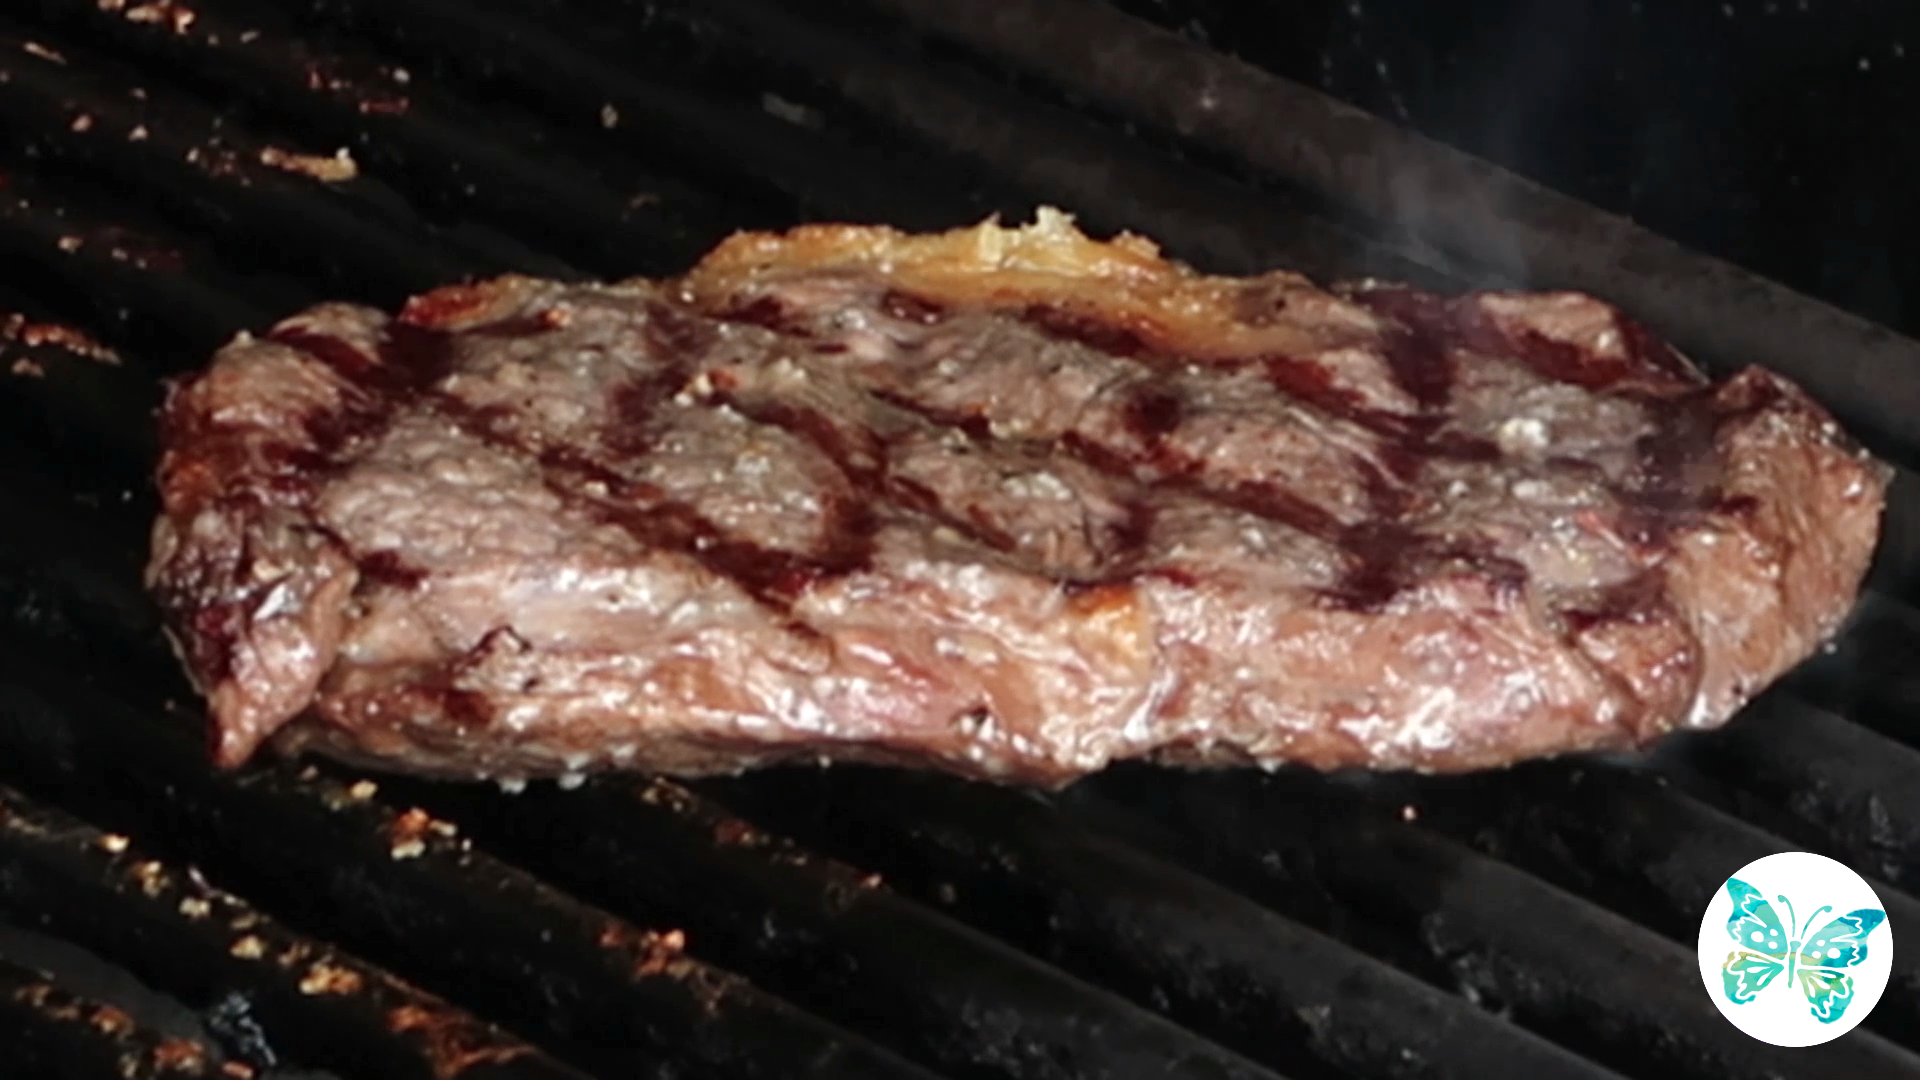
Let's Grill! Place steak over a medium-high flame.
For perfect grill marks, rotate the steak 90 degrees after two minutes. Cook another minute or two before flipping. Flip the steak when you can see that the edges of the steak are just starting to color. If desired, repeat the 90-degree rotation for perfect grill marks on both sides.
Cook to the desired degree of doneness. Try to resist the urge to cut into the steak to peek—this will allow the hot juices to escape and will dry out your steak.
How to Reach the Perfect Degree of Doneness
METHOD 1: The Doneness Rule of Thumb (preferred)
To determine the degree of doneness, you can use a simple touch test, comparing the feel of your steak to the fleshy part of your palm located around the base of your thumb.
- A rare steak will feel like the soft and squishy part between your thumb and index finger.
- A well-done steak will feel quite firm, like the area closer to your wrist.
Shoot for the degree of doneness you like by monitoring the firmness of the steak as it cooks.
You can also get a little more scientific by following these guidelines for the “Rule of Thumb” :
- RARE: Gently press thumb and forefinger together
- MEDIUM-RARE: Gently press thumb and middle finger together
- MEDIUM: Gently press thumb and ring finger together
- MEDIUM-WELL: Gently press thumb and pinky together
- WELL: Firmly press thumb and pinky together
(See video demo above)
Can’t remember all that? Simply use the touch test and remember that soft = rare, firm = well done.
METHOD 2: The Thermometer Method
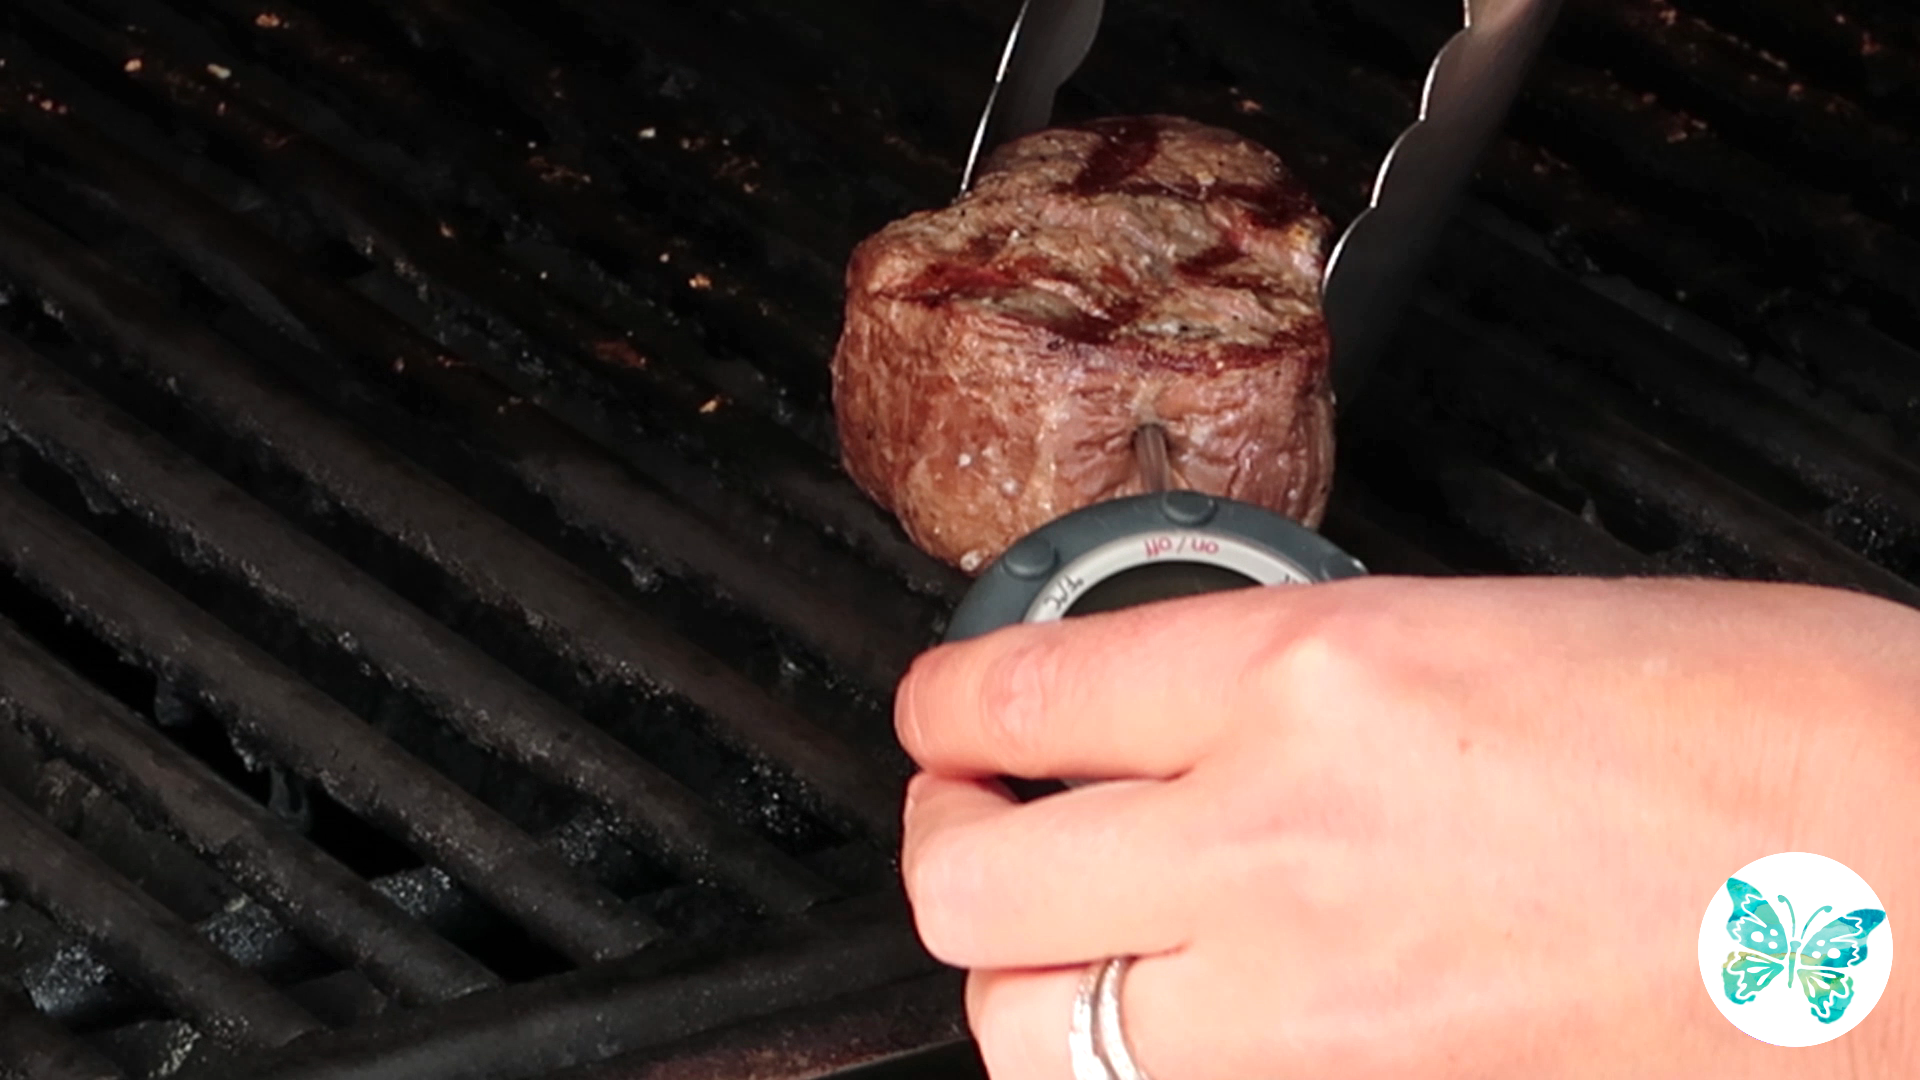
You can double-check your doneness with an instant-read thermometer. Insert from the side of the steak, at least 2 to 3 inches into the center of the steak, or along the bone, if there is one. Remove from the grill at these temps:
- Rare: 125 F (51 C)
- Medium-Rare: 130 F (54 C) – recommended
- Medium: 140 F (60 C)
- Medium-Well: 155 F (68 C)
The steak will continue to cook a bit after you remove it from the heat, so the above temps account for that residual cooking of an additional 5 degrees Fahrenheit, or 3 degrees Celsius.
If you need to flip the steak multiple times to ensure even doneness, do it! It might mess up your perfect grill marks, but it will not toughen the steak. (That’s a myth.)
After-Care for Your Steak
Let the steak rest for 3 to 5 minutes after removing it from the heat, tenting loosely with foil to keep it warm without locking in too much steam.
Searing steak on the outside to lock in juices is a myth. Resting your meat after grilling it is the most effective way to ensure a juicy steak.
Any steak will release some juice during cooking and resting, but by briefly resting the steak, the remaining juices will cool and thicken a bit, keeping them locked inside. When you cut into a well-rested steak, those juices moisten every delicious bite instead of oozing into a puddle on your plate.
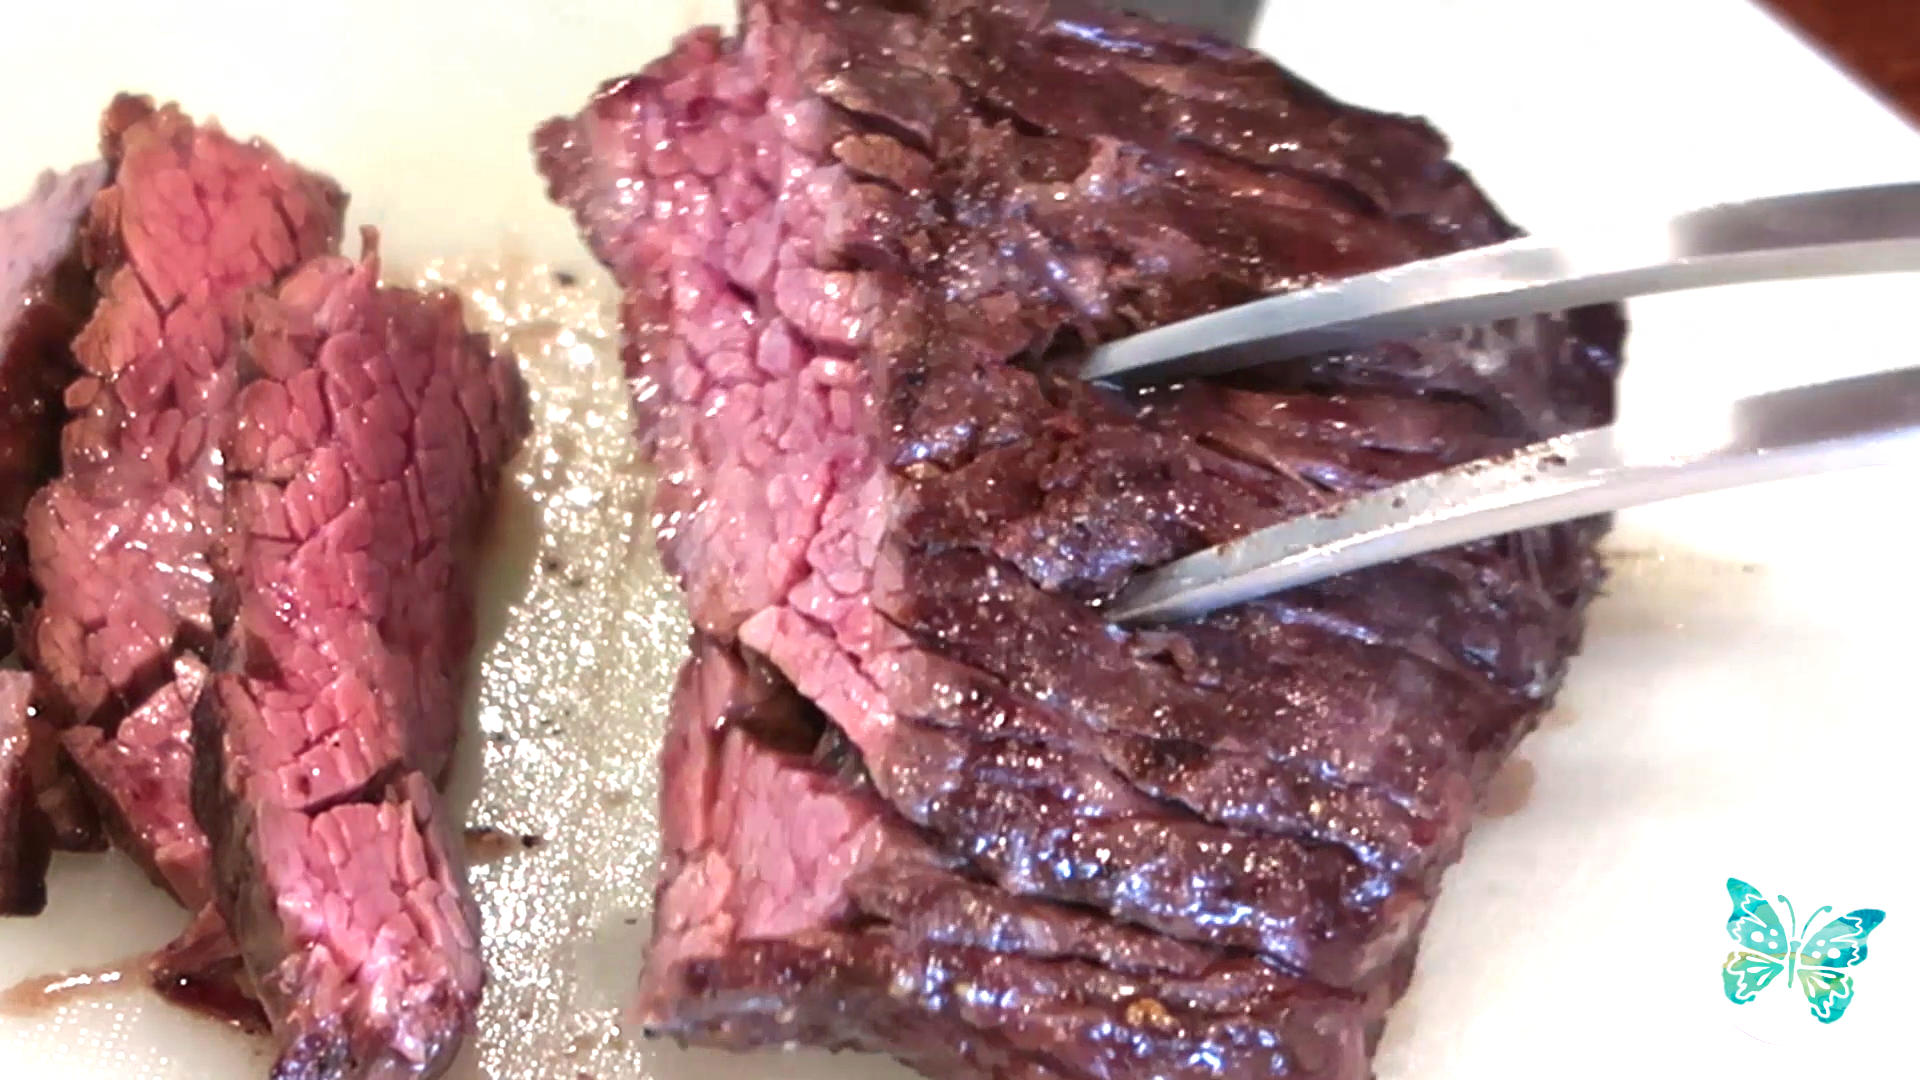
For thin cuts like flat-iron, flap steak, or hanger steak, always slice across the grain to serve.
No grill? No problem!
For pan-searing steak, the same rules apply. Just be sure to use a heavy-bottomed or skillet—cast iron is ideal. Also, avoid pans that are coated with any kind of nonstick coating, as high heat can release toxic compounds that are best to avoid.
Just like you want to preheat the grill, preheat your pan before adding your steak, over medium-high heat. Rubbing the steak first with melted ghee, tallow, or lard is a bit more important here. This adds moisture, lubrication, and a touch of wonderful succulence.
Enjoy Your Steak!
Once your steak is perfectly grilled (or pan-seared) and rested, it's time to dig in and enjoy! With loads of bioavailable protein, iron, tyrosine, and other key thyroid-supporting nutrients, the occasional steak (especially a grass-fed steak) is a treat we can feel good about eating as Thyroid Thrivers.
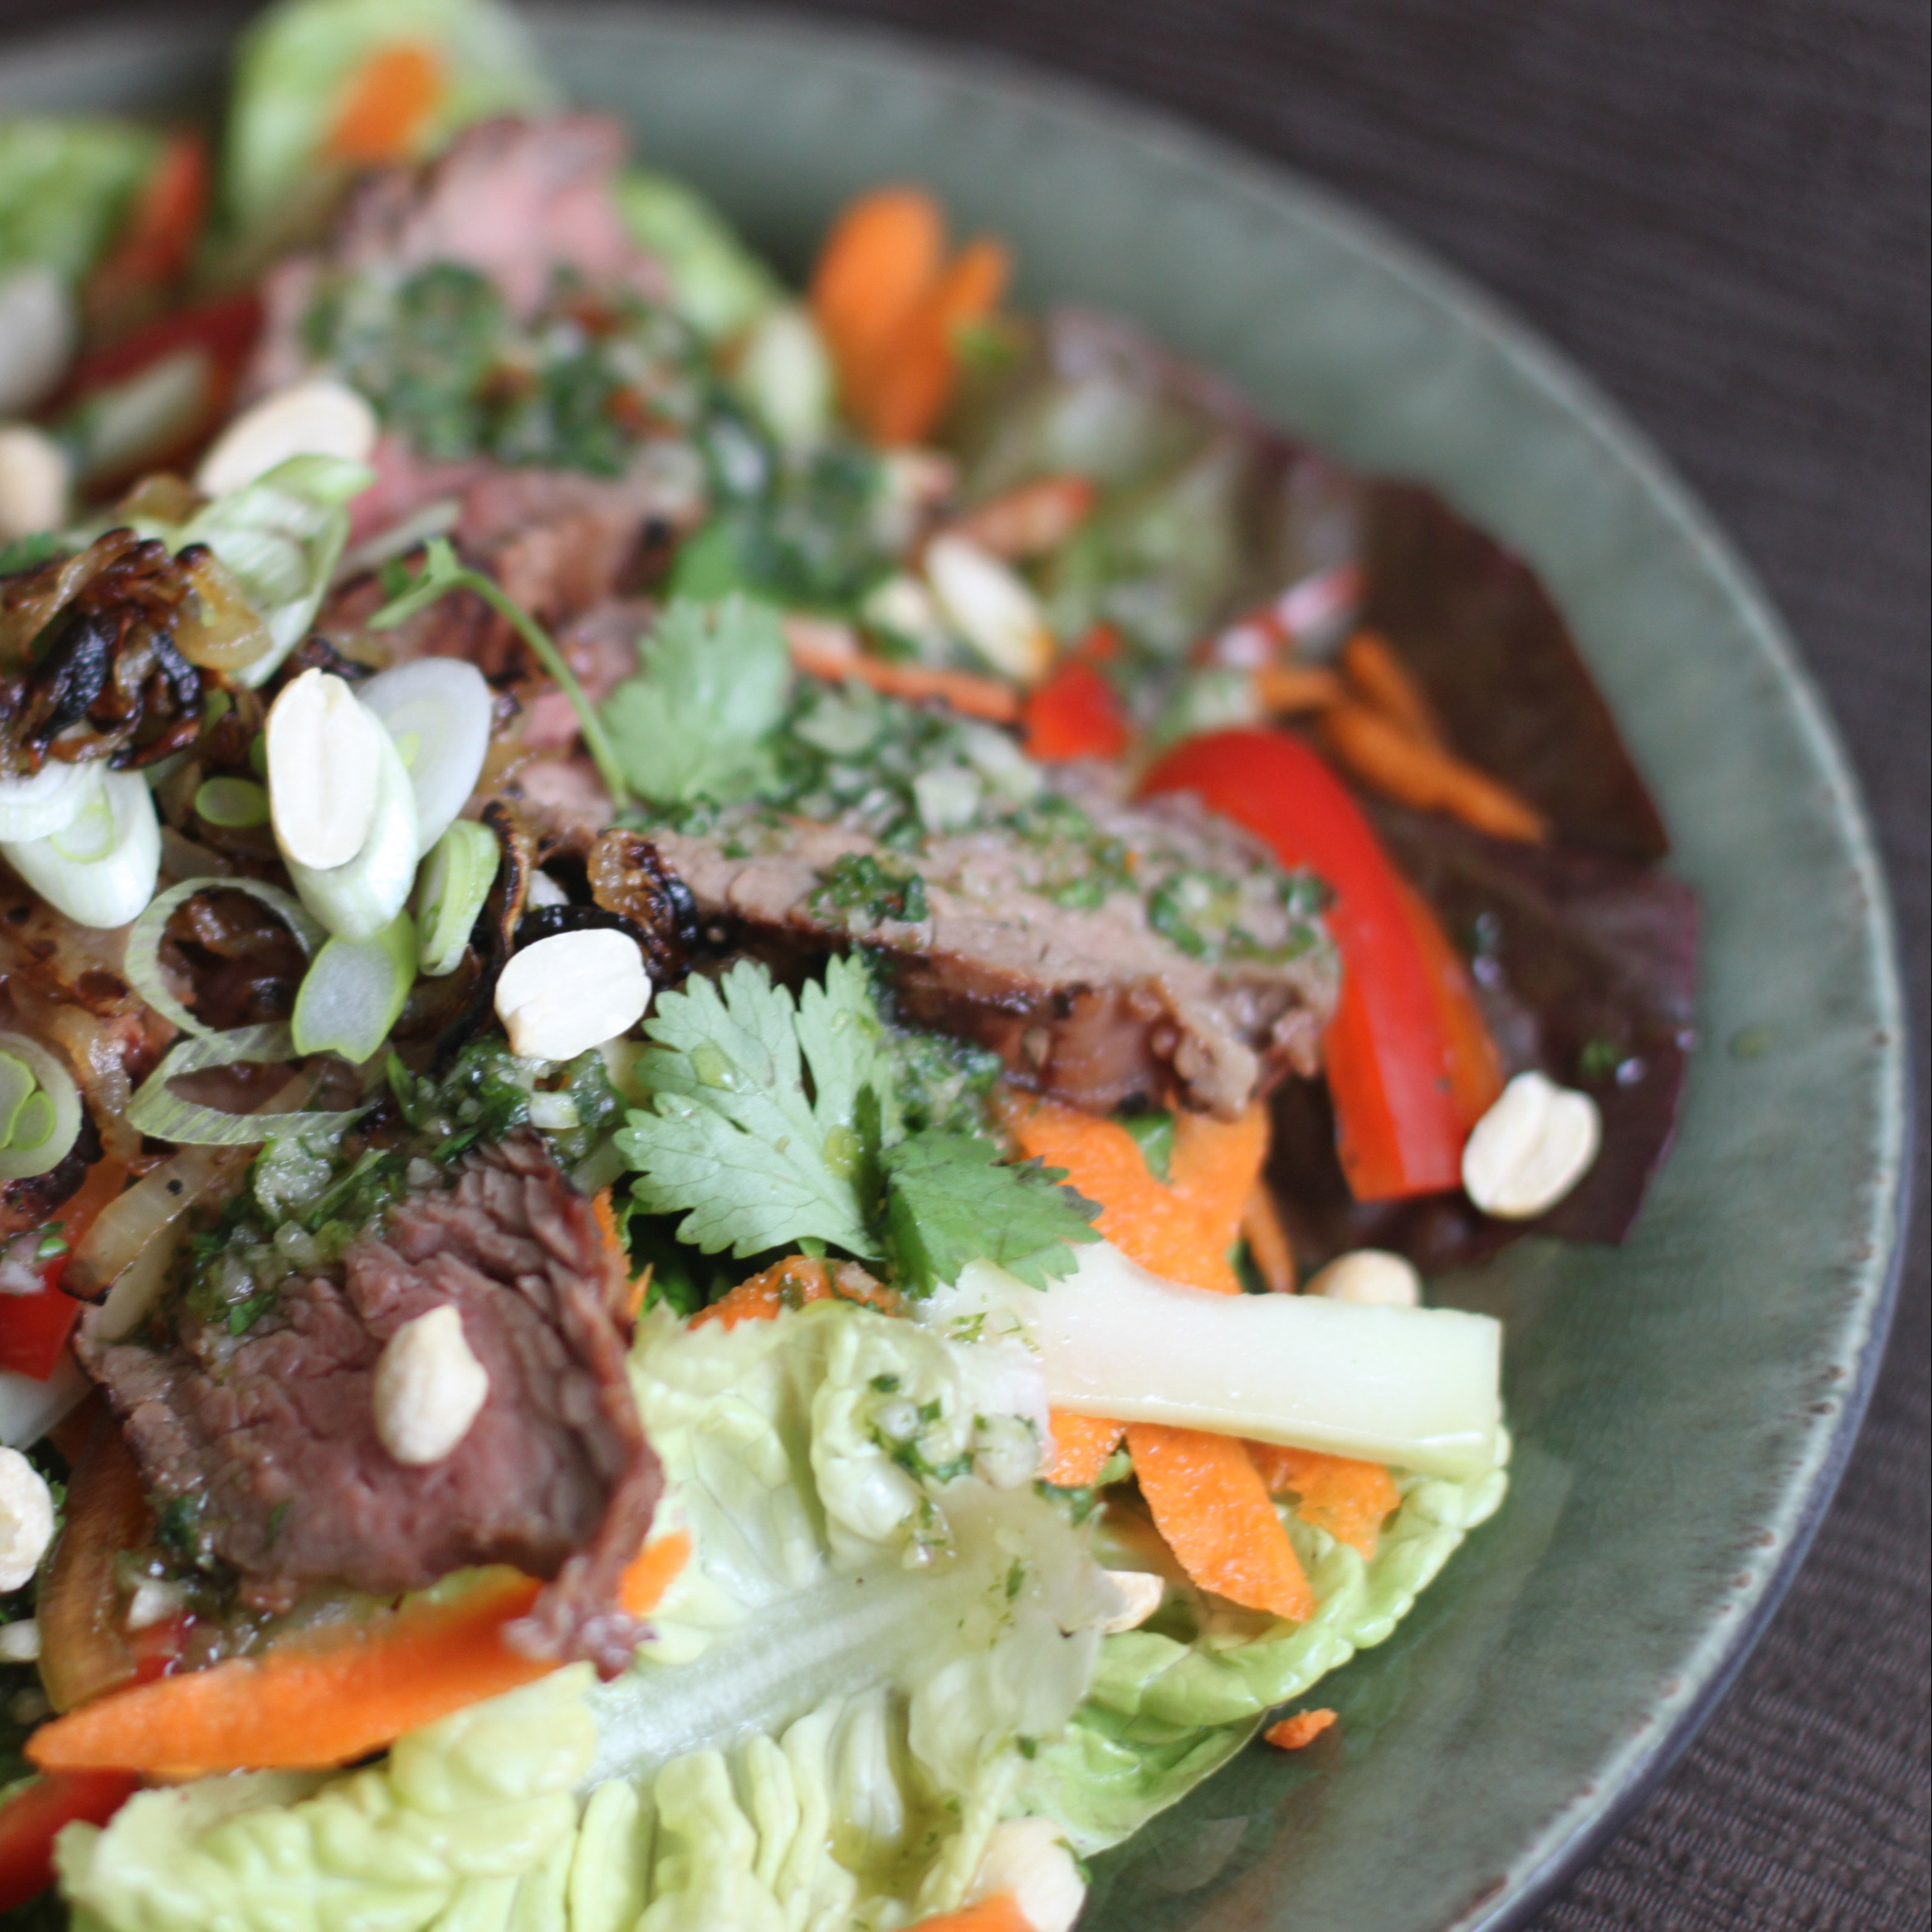
Try out your new skills with these thyroid-healthy recipes featuring steak:
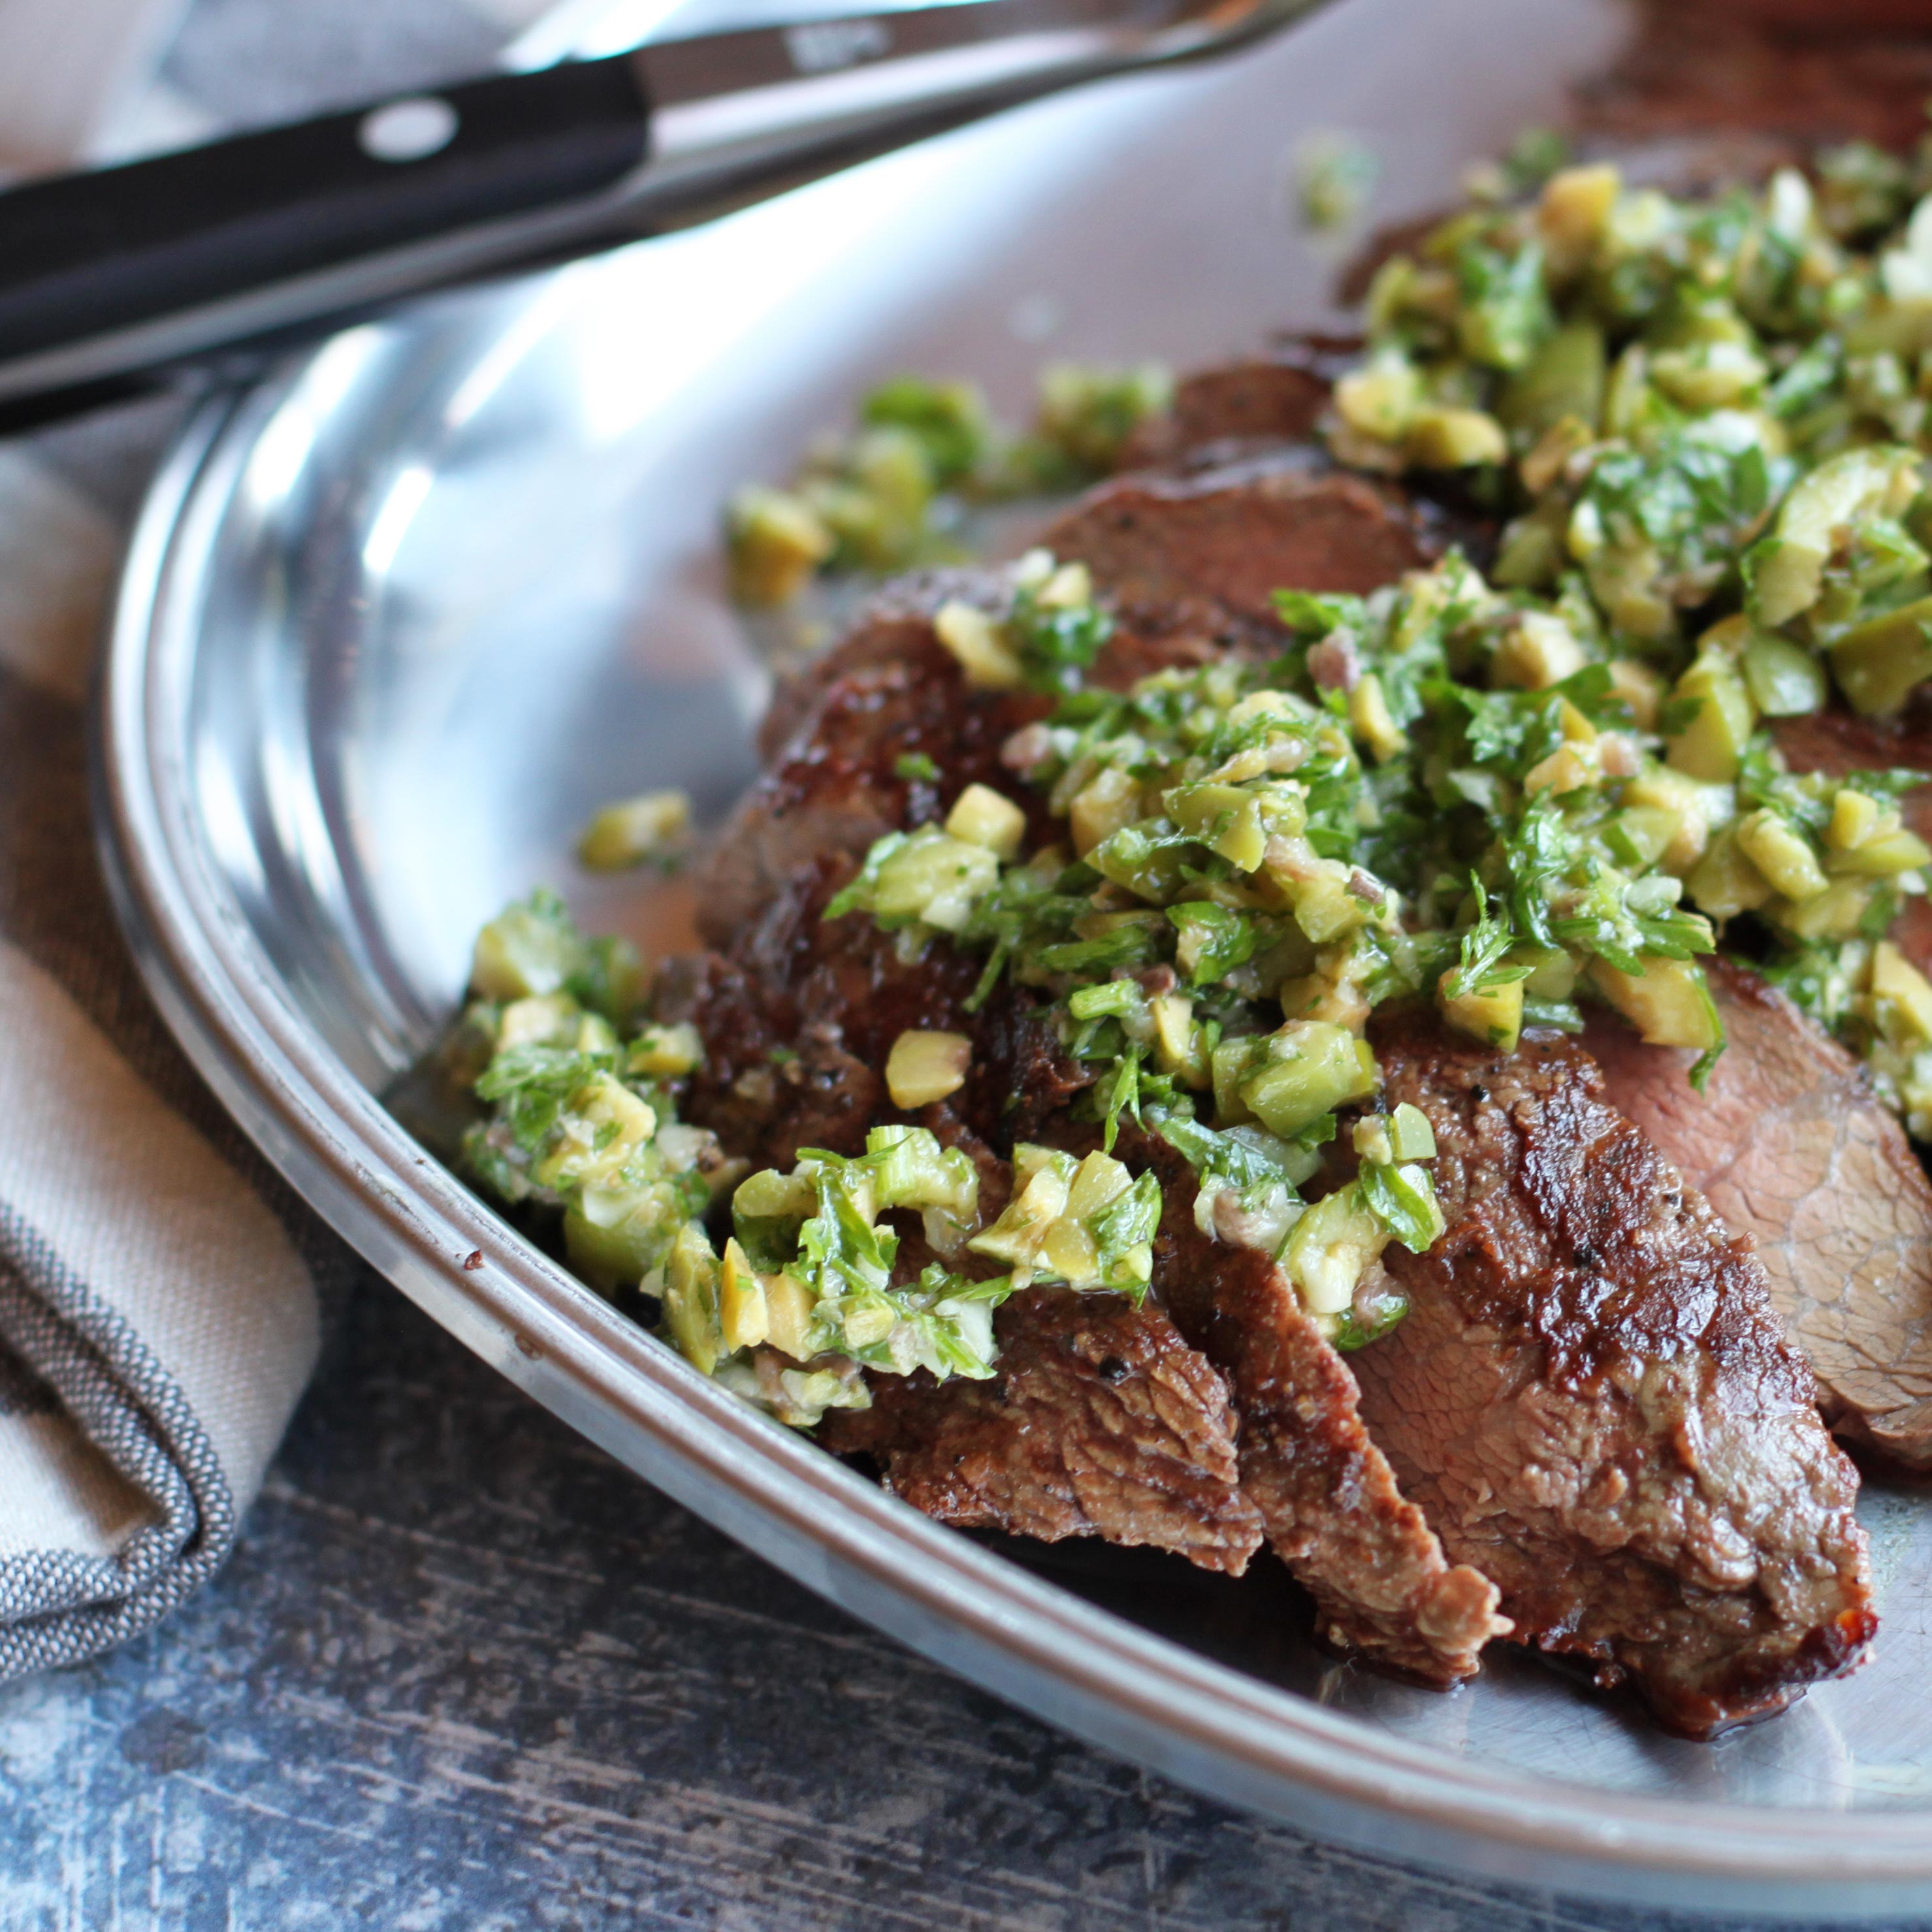
AIP Grilled Flat Iron Steak with Parsley, Garlic, and Green Olive Relish
Tri-tip Street Tacos with Grilled Pineapple and Onion
There you have it! All my best tips for grilling a perfect steak, every time, plus a few thyroid-healthy recipes you can use to test out your new skills.
Happy cooking, happy thriving, and enjoy!

P.S. Need more thyroid-friendly recipe inspiration? I’ve got you covered. My Thyroid-friendly Everyday eCookbook features over 50 quick and easy, thyroid-friendly recipes your whole family will love. To take a peek at what’s inside, CLICK HERE.
Subscribe to my free newsletter for fresh recipes & lifestyle tips, delivered weekly, and receive a free gift!
By submitting this form, you agree to receive ongoing updates from Hypothyroid Chef


